Showing posts with label heirloom sewing. Show all posts

Saturday, August 12, 2023

Products That Make Sewing Easier As I Get Older

I'm not ancient but I am getting older. Fifteen years of living with rheumatoid arthritis has taught me to look for ways to make my life easier so I can continue to sew the beautiful heirloom garments I love so much. Today I want to share with you some of the products I use to help me aid me in making these garments.


gloves


Hoop Stand 


It is made from hard beechwood and sanded to a fine finish. It can be used as a table stand but I position it between my legs and sit on the base. The adjustable knobs help to get the embroidery hood in the best position for working on the embroidery. Handsfree eases the pressure on my joints plus I think my stitches much neater.


Hoop Stand

Electric Scissors

If I am cutting more than one layer of fabric, I use my electric scissors. They will cut multiple layers at a time speeding up the cutting out process. Batch cutting my pattern pieces is a real time saver. The electric scissors come with two rechargable batteries so there is always one charged to use when the other is getting slow. The scissors are not heavy so they are easy to hold. Plus, they are cordless so there is no cord to get in the way or get cut through. Mine were purchased on Amazon. Click on the link below to find the ones I use. The ones I use are out of stock at Amazon but here is a link to a similiar set.

Electric Scissors


Here is a short video demonstrating how I use the scissor to cut out the hoods for my towels.


Honestly, my GrabbIt magnetic pincushion has been a staple in my sewing studio or over twenty years. It holds my pins securely and makes cleanup a breeze. I don't use the pins that came with it. 


The Oliso Iron ProPlus Smart Iron 

I first saw this iron on a You Tube video. It think it was a video by Sarah Ward with Sarah Classic Sewing. The Oliso has a clever auto-lift function. With a gentle touch on the handle, the iron effortlessly descends, poised for action. Release your grip, and the innovative scorch guards, a patented feature, gracefully raise the iron, safeguarding your fabrics from scorching. Leaving the iron in a horizontal position not only enhances safety but also optimizes efficiency, while providing relief to your wrists and shoulders. It also available in some fun colors!

Olisio Iron


I made a short demostration video on the smart touch handle.


Compact Iron

The Steamfast Mini Iron is the compact iron I use everday. It stays on my sewing table while I sew. The grip on the iron is very comfortable for my hand. It's light weight is easy on my hands and arm. The steam function is great and it even has a burst of stem feature. Click on the link and you can see the features of the iron and purchase.


Steamfast Mini Iron

There is another mini project iron I would like to try. It is by Oliso -same brand as my full size iron. I will link it below and provide a picture.


Oliso Mini Project Iron

There are other products I will purchase in the future as I see the need so I can continue doing what I am so passionate about - Heirloom Sewing and Hand Embroidery.

Have a fabulous day,


A small commission is earned off the sale of a product linked in this article.


Pin It!

Monday, July 3, 2023

Sewing Essentials Part 3 - Ironing Essentials

Anyone who sews knows pressing and ironing are an essential part of sewing. Seams have to be pressed to seal in the stitches and then pressed open or to one side. Hems are ironed in and sleeves are steamed. Below are items I use in my sewing studio every day and where you can purchase them.

I. An extra large ironing board the one I use is wider than the normal size ironing board and has a place to rest your iron on one end. It is called the Honey-Can-Do Adjustable Deluxe Ironing Board with Iron Rest

Honey Do Extra Large Ironing Board


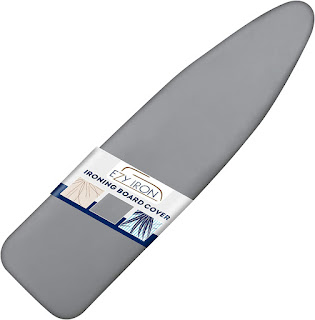
2. I wasn't crazy about the striped cover that came with the ironing board so I purchased one with extra padding. Padded Cover

Extra large ironing board padded cover.


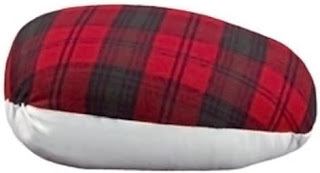
3. My ironing ham is used for so many things like ironing open seams. The curved seams conform to the shape of the ham. There is a cotton side and a wool fabric side.They are acually called a Dress Makers Ham and you can purchase one by Dritz online at Farmhouse.  https://farmhousefabrics.com/pressing-tailor-s-ham-by-dritz-8-28-20

There are also lots of You Tube tutorials on how to make your own.

Tailor's Ham pressing tool


4. The rajah pressing cloth is used to to press in creases or take out creases. The heat of the iron releases a chemical that is like magic. The chemicals won't harm your fabric. I purchased mine and Farmhouse fabrics and here is the link: https://farmhousefabrics.com/rajah-pressing-cloth

The fat quarter silk organza pressing cloth Available at Farmhouse Fabrics is a great pressing cloth. You can use it to delicate fabrics plus it protects your iron from getting residue and sticky spots. https://farmhousefabrics.com/fat-quarter-silk-organza-18-x-22-soft-white

5. Parchment paper is very useful when ironing. It protects your iron and your fabric.

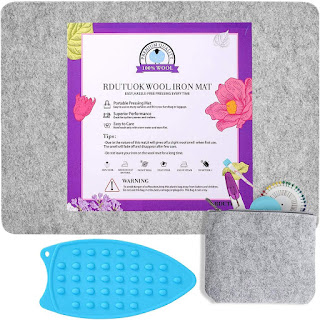
6. I discovered the wool pressing mat while watching a Farmhouse Fabrics Gab & Gush. The heat gets into the wool and both sides of your fabric is pressed. Below are two links where you can purchase a wool pressing mat. Amazon - https://amzn.to/3NtBRQ0 or Farmhouse Fabrics- https://farmhousefabrics.com/wool-pressing-mat-thick

Wool Pressing Mat


7. Now let's talk about starchs. There are several opinions on when and if to use starch on fabrics. I use three types of starch depending on what I am working on. First is Mary Ellen's Best Pressed Starch. This is my favorite starch to use with heirloom sewing. It is light weight and gives a beautiful finish to the garment. 

https://amzn.to/41eFbV5

Eileen's Best Pressed Spray Starch


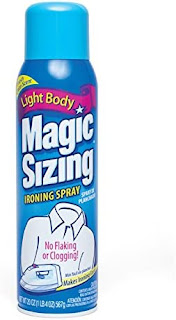
If I use Magic Sizing for "touch-ups". It is a light weight finish and gives so much body to your garment.  https://amzn.to/4498xpg

This image shows a can of Magic Sizing spray starch.


Faultless Starch has been around for years and is a trusted brand. There are several types but I like the gold can the best. You can find it at grocery stores and big box stores but I usually order several cans at a time and purchase it through Amazon.  https://amzn.to/3JGuyUa

Two cans of Faultless Spray Starch

Thank you for staying until the end of this post. I hope my suggestions help you in your sewing journey. I am an Amazon affiliate so if you order from one the Amazon links in this post, I receive a small commission. Have a great day!


Pin It!

Saturday, November 5, 2022

How It All Began

I fell in love with French Hand Sewing and English Smocking when my first daughter was an infant. I've sewn and done simple hand embroidery since I was about nine years old. My first project on a sewing machine was an apron for 4-H when I was nine years old. Both my mother and my grandmother had sewing machines. I still remember the clothing my mother made me growing up. My husband, children, and I spent summer vacations at his parents house. The first summer after my daughter was born, a friend of my mother-in-laws taught me how to pleat, smock, and construct a bishop dress. My mother-in-law (Tommie) purchased a pleating machine and I've never stopped smocking.


I didn't think it was too bad for my first try!


The pleater my mother-in-law purchased for me is still the one I use today thirty-nine years later.


After returning home that summer, I looked in the yellow pages (yes, there used to be a book published listing all the local businesses) and found that Tuscaloosa, Alabama had a smocking and heirloom sewing shop called Sew Fancy. Later the name was changed to Sew So Fancy. I still remember getting my 19 month old and 6 month old out of the van, putting them in their double stroller and wondering how I was going to get them up the stairs of the old Victorian house where the shop was located. Luckily, the owners of the shop saw me and helped get the stroller into the store. A life long friendship began that day between me and those two sweet women, Swiss Batiste, and French lace. 

The world of heirloom sewing was new to me and I desparately wanted to learn all about it. One of the first things I learned was there were two techniques; french sewing by hand and french sewing by machine. French sewing my hand has been used for many generations and uses the finest fabrics and laces so in order for me to try to duplicate the look on the machine, I knew I needed to first learn the technique by hand. 

Lessons were a must as were books by Sarah Howard Stone. 


During my class, I learned all the techniques from a great teacher and friend. This was a hands on project so I had to select what I wanted to make. My daughter had auburn red hair so I decided aqua Swiss Batiste and ecru laces would be a good choice. Below are pictues of the finished results.


Note the french seams and hand rolled and gathered skirt ruffle. 


Pattern used was Bijoux by Sarah Howard Stone in a size 1.

I plan to share more of my journey in furture posts.


Pin It!

Wednesday, December 18, 2019

2018 Heirloom Easter Dress


Easter is a special time of year. Spring flowers are blooming and the weather is getting warmer. Here in the deep south, mothers start planning Easter outfits for their children in January. The design is sketched then laces and fabrics are selected. Planning Easter outfits usually take days not just hours. Magazines and Pinterest are looked at for ideas and details. After a style is decided on then you find a pattern for the style of the dress for girls and shirt/pants pattern for boys. In this article we will talk about a girl's dress. Child measurements are taken to ensure a good fit for the garment. It is also a good idea to measure a garment that fits the child well. After a style and pattern are selected, then mothers need to look at fabrics and laces.

After the style and design of the dress are decided, the lace and type of fabric are selected. French Valiennces lace is available in basically three colors: white, ivory, and ecru. For this dress, the mother selected white fabric and ecru lace. I used white Imperial Batiste by Spechler Vogel for the dress laces from Capitol Imports. The laces came in white and I dyed them with coffee, water, and set the dye with vinegar. There is a tutorial on how I dyed the lace HERE.

Let's talk about fabrics used on heirloom quality garments. Purists will say only 100% cotton or 100% linen fabrics should be used. When "french sewing" was done entirely by hand (more on that in a following paragraph), 100% cotton or linen fabrics needed to be used in order to roll and whip the fabric by hand. Today most French Sewing techniques are done on a sewing machine and you can achieve a similar look using a polyester/cotton blend of fabric. I have garments I made 25 years ago with a quality polyester/cotton batiste and they look just as nice as they did when they were originally made. I will talk more about storing heirloom garments in another post. 100% cotton Swiss Batiste and Linen are still my favorite fabrics to work with when making heirloom garments.

After all the decisions have been made, construction begins. When you first look at a dress this complicated, you might ask, "Where do I start?". Construction of the dress is sewn in steps. I like to make the fancy bands first. This dress has bands of lace insertion and bands of pin tucks. After decided the width of the dress, I carefully measured the lace needed for the bands and cut them. Width of the shirt of the dress is determined by size of the child.

The lace bands are sewn together using a method called Machine French Sewing. Hand French Sewing is done by hand with a needle and thread. Laces were pinned to a piece and sewn together with tiny delicate whipped stitches. Most outfits today and sewn using a sewing machine but the stitches are designed to mimic hand sewing. If you have an old garment sewn entirely by hand, you have a true treasure. In Machine French Sewing, you use a tiny narrow zigzag stitch to sew the lace pieces together. Care is taken not to stretch the lace.

For this dress, I stitched the selections in the following order:
Lace bands
Tuck bands
Skirt Ruffle
Sleeves
Front and back yoke

After all the sections are made, I lay them out on my grid pad and measure to see how deep to cut the fabric skirt piece. I wish I had thought to take a picture of the layout. As a general rule, you want the fabric piece to be at no less than 1/3 of the skirt length. Then the sections are now stitched together. The front and back yokes were made larger than needed and a "grow" tucked was added. The "grow" tuck was stitched with hand stitching so it can be easily taken out the next year and the child can wear the dress another year. Heirloom style dresses are very expensive to made and mother's want to get as much wear as possible. The lace around the yokes were gathered and stitched on my hand. Ribbon was run through the lace beading and tacked down by hand.

A matching slip was made and used under the dress.

Here are close-up pictures of the front and back of the dress:


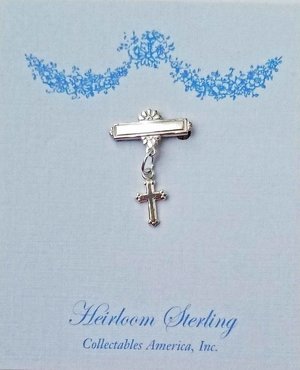
The back of the dress is closed with Baby Bar Pins. I call them Beauty Pins and you can find them here on my website.


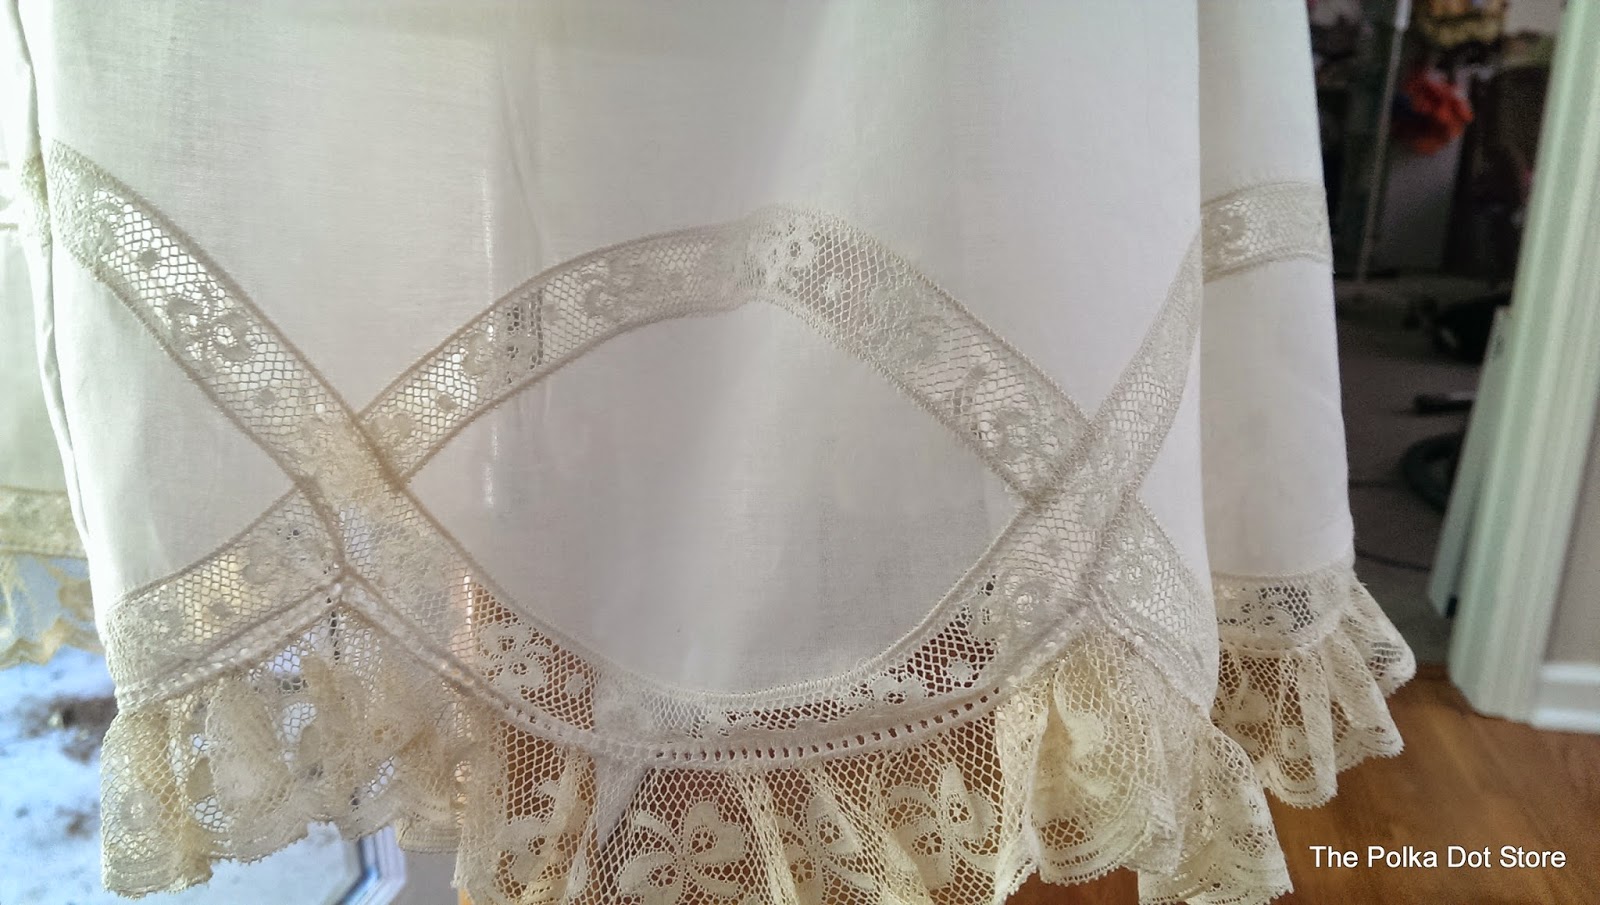
Skirt Detail


Skirt and Band Detail


Sleeve Detail


Dress Front


These beautiful garments are not only used for special occasions like Easter and weddings but are also worn for portraits. 

Here is a picture of the gorgeous little girl wearing the dress. She is adorable and loved her "fancy dress".


Pin It!

Friday, May 16, 2014

Heirloom Easter Sewing

Welcome, it has been awhile since I've posted. Spring has been crazy busy! We celebrated Easter with family in Auburn, Alabama. Church, great food, and good company made for a perfect day. My grandson who is two loved finding hidden Easter eggs.

Several months before Easter, I planned and started working on two special outfits. The first outfit was for my grandson and I decided to make a cute sailor outfit. With fabric I had on hand and a pattern by Children's Corner called Michael I began my adventure. Since Max is only 2 1/2 years old, the colors pale blue and white seemed like  good choices. White royal twill was used for the shirt and blue satin ribbon was used to trim the collar. I started out trying to use bias tape and wasn't happy with the look so I switched to ribbon. The Michael pattern is a very easy to sew pattern and I have made countless outfits with it. The shorts have front pleats and an elastic back and were made out of blue pique. Mother of Pearl buttons were used to close the back of the shirt and a blue pique tie accented the front of the shirt. My daughter completed the outfit with knee high white socks and navy/white saddle oxford shoes. Adorable!


The second adventure was an adventure in heirloom sewing. If you have read previous posts, you know this type of sewing is one of my passions. Last summer a friend of mine became a grandmother to a beautiful little girl and we started planning her 2014 Easter outfit. Can I just say "Fun"! The little girl's mother decided on pink fabric and ecru lace. I used Child's Wedding Ring Dress by Chery Williams as a guide to make the dress.


Pink Swiss Bearissima Batiste by Bear Threads, LTD was the perfect choice for the fabric. Several different widths and styles of Bow Lace were used on the dress. I'm not sure where the lace was purchased. Here is a picture of the materials I selected for the dress.


The scallops on the collar and dress were attached accented with machine hemstitching and lace attached to it. I have an old hemstitch machine made in 1946 that is used to stitch the hemstitching. This is the only stitch this machine makes! Two needles and two bobbins are used to make the perfect stitch. Here is a picture of my machine.

Any hoo, here is the finished product and a picture of the precious little girl wearing the dress.


Entredeux beading, ribbon, and lace edge finished the sleeve edge. The outfit was completed with a double-faced satin pink hair bow.

Best of all,  a picture of the dress being worn by a precious little girl on Easter.


I had so much fun making these two outfits, I am sure I will be sewing on something new again soon.


Pin It!